Send Client Bid Proposal
The "Send Client Bid" feature allows you to prepare and send detailed bid proposals to your clients. By carefully filling out each section and customizing the bid to meet client expectations, you can present a professional and comprehensive proposal that enhances your chances of winning the project. This guide will walk you through each option available in the bid form and how to use them effectively.
Accessing the Bid Form
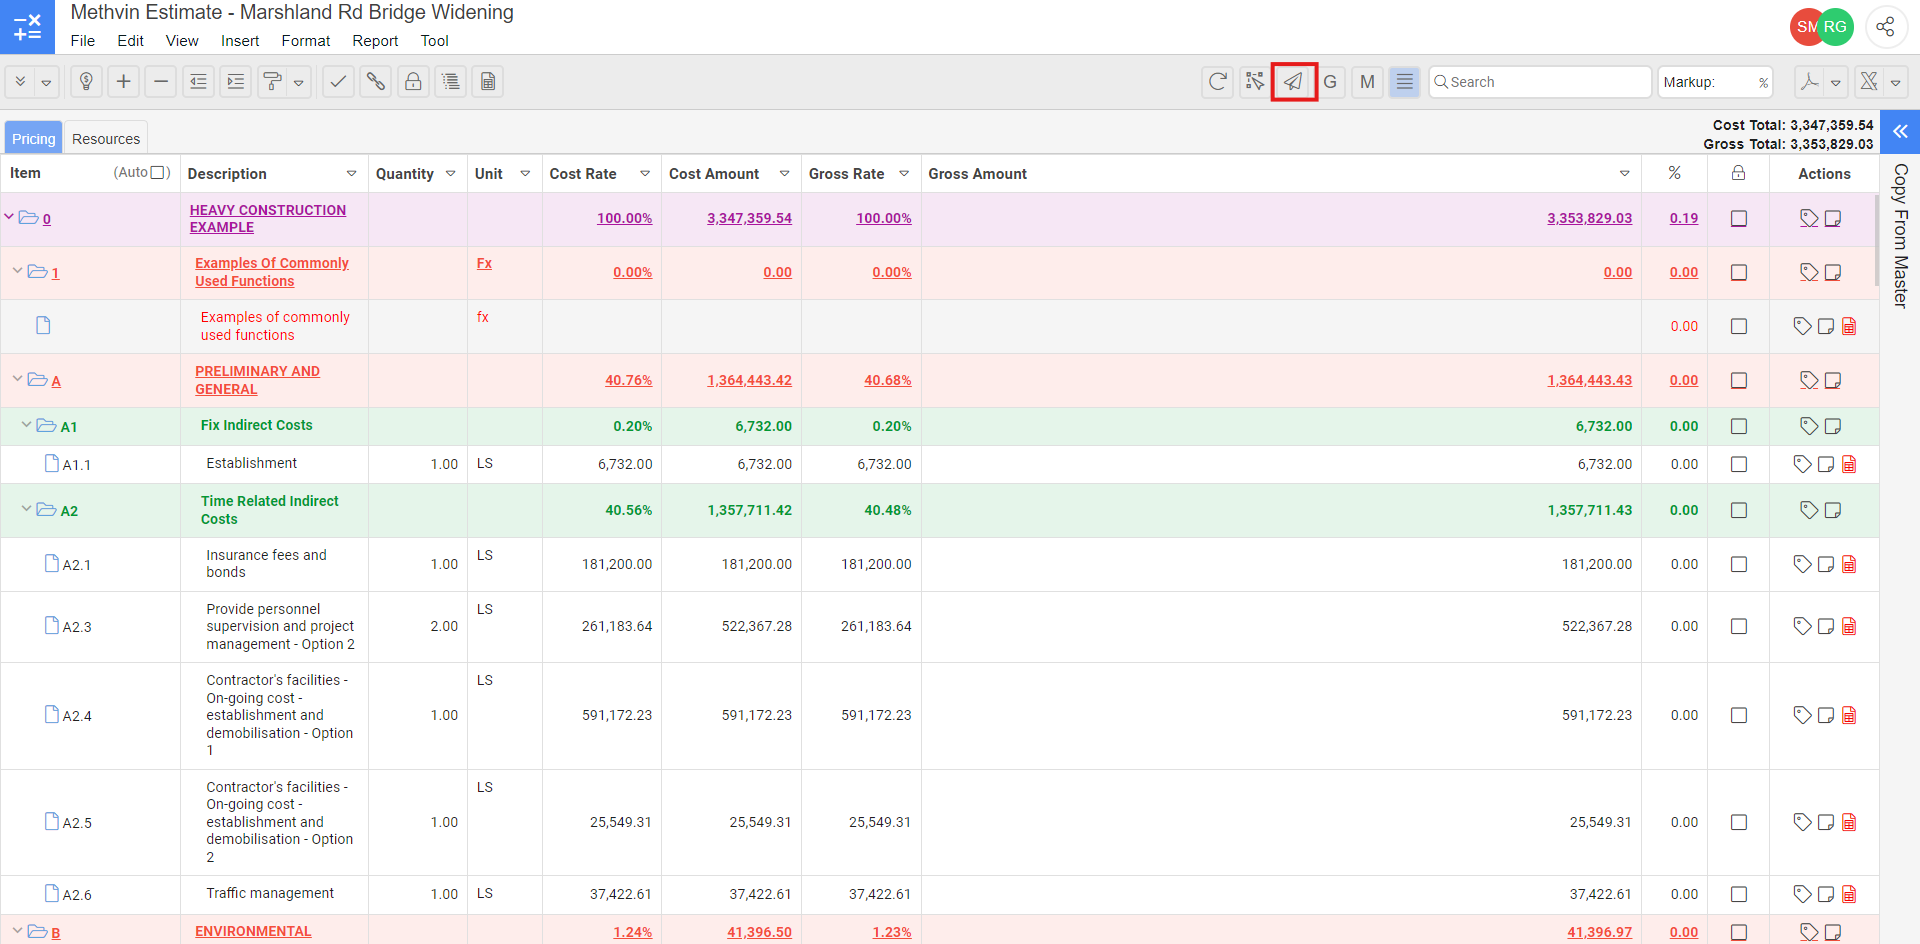
- Navigate to the estimate you want to create a bid for.
- Click on the Send Client Bid
icon in the toolbar menu.
- Once clicked, the bid form will open, displaying various sections and options.
Bid Form Overview
The bid form contains several sections that allow you to customize your bid according to your project’s needs. Below is an explanation of each section.
Header Section
- Click on the edit icon
next to the "Header" field.
- You'll see a list of checkboxes for various details you can include in the bid, such as the date, your company name (Methvin), user name, and user email. You can also check the boxes to add the client's name, email and quote no. to the bid form.
- After selecting the desired details, click save
icon to apply them to the bid.
Commercial Section
Click on the edit icon next to the title of the project to make changes in the following fields. You can change the name, add or remove the fields to your liking from the left panel. Once you have made the changes to the fields you can click the save
icon.
- Scope of Work
- The "Scope of Work" field is where you provide a concise overview of the project, including key tasks, deliverables, and the expected timeline. It should also outline payment terms, highlight health and safety considerations, and describe how communication with the client will be maintained throughout the project. This ensures that all essential details are clearly communicated to the client.
- Inclusions
- Enter any extra services, materials, or tasks that are included in the project but might not be explicitly detailed in the scope of work.
- Exclusions
- This section lists out the items or services that are not covered by the bid. It helps clarify what the client should not expect to be included. You can list any services, materials, or tasks that are specifically excluded from the project. This helps manage client expectations.
- Tags
- Clear communication ensures that both parties are on the same page, reducing the risk of misinterpretations that could lead to errors or disputes later on.
- Providing thorough explanations shows professionalism and transparency, which can strengthen the client’s trust in your work.
- By addressing potential issues or misunderstandings upfront, you can prevent costly mistakes or rework down the line, saving time and money.
- When clients fully understand the details and implications of the construction process, they can make more informed decisions, leading to better outcomes for the project.
- Well-documented tags / clarifications can serve as evidence in case of disputes, protecting both parties from legal complications.
- Clients appreciate being kept in the loop and having their questions answered thoroughly, which can lead to higher satisfaction and potential repeat business or referrals.
- Notes
- This section is for any additional comments or special instructions related to the bid.
- Enter any supplementary information that could be helpful for the client or your internal team.
Report Design section
This section controls how costs and pricing are presented in the bid. You can customize the bid format according to the client’s requirements.
- Lump Sum
- Select this option to present the bid as a single total price without itemization.
- Section
- Choose this option to break down the bid into sections, showing costs for different parts of the project. Or choose the section you want to display from the drop down.
- Client Schedule
- This will not include the sub schedules.
- Full Schedule
- Provides a comprehensive view of all costs and timelines associated with the project.
- Show Resources
- If enabled, this will display a detailed list of resources (materials, labor, etc.) used in the project.
Summary Section
This section lets you toggle different financial components on or off to include them in or exclude them from the final bid summary.
- Profit
- Toggle this option to include profit margins in the bid.
- Overhead
- Toggle this option to Include overhead costs that are applied on gross amount, and do not display in the summary.
(for best practice we would recommend that you price your overheads into the schedule)
- Tax
- Add applicable taxes to the bid. You can describe the tax by clicking on the edit icon next to the tax.
- Other Taxes
- By clicking on the edit icon next to the other taxes option you can check the boxes in the list displayed and specify any additional taxes not covered by the main tax field.
- You can select a resource section total for example Materials and add a percentage tax to the amount.
Other Options
This section provides various settings to control how your bid is presented.
- Auto Items
- Automatically number rows of items in the bid.
- Show Alternate
- Highlight alternate bid items.
- Show Styles
- Enable or disable the display of text styles like bold or italics in the bid.
- Show Icons
- Include icons or graphical elements in the bid for a more visual presentation.
- Show Logo
- Choose whether to display your company logo on the bid document. Upload the logo by clicking the upload icon
Share Section
- Export:
- Use this option to export the bid in PDF format for offline use or printing.
